


Procedural Generation - The Caves
April, 2011
Over the last several months I have been researching and experimenting with different types of procedurally generated maps. I was working on a top down, zelda-like game that used procedural generation to create the dungeons throughout which the player would explore, encountering monsters and hidden treasures. Development never got to far on this game, but it was a great learning experience and I got my maps to a state I was really happy with.
Over the last week, I've been doing more procedural generation for a game that my brother, Liam, and I are creating. It's going to be a rather simplistic and casual game when done, but one of the most exciting things about it is that every level is completely generated from scratch, creating rich, varying, environments every time you play. You can check out what's been done so far (as of this post) here.
Since posting that, I asked if people were interested in me writing up the process that my generation takes to create the maps seen in the demo above. I got enough interest that this definitely seemed worth while, so here it is!
PART ONE: THE BASICS
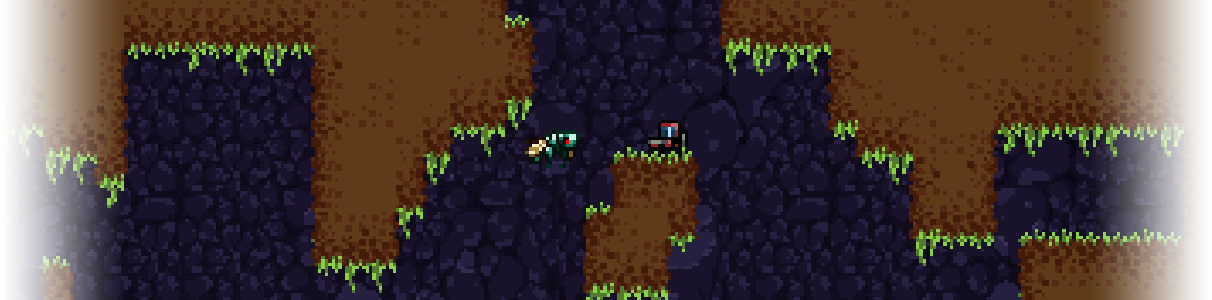
Before I explain anything, make sure you've actually seen how the generation looks in-game. If you missed the link above, see it here. The idea for this game was to create a vast cave with interesting tunnels, pockets, and enclosures. I started off with a number of different methods that ended in very interesting shapes but nothing quite like how I wanted. I searched around a bit for different methods and ran into Chevy Ray's example that he
CREATE THE MAP
The first thing that my generation code does is create a 2D vector (array), containing ID's (integers) of the different types of cells. To start, I create a 400×300 size grid, all with the value “1″. In my case, ID=1 stood for walls, and ID=0 stood for empty space (titled floors, even though they're not, really). Later on I add Water, which is ID=3, but that's not important right now.
THE MINER
Once the map is created, I then create a “miner”. In my case this is actually just called a “Cell”, but it makes more sense if you consider it to be a miner. The miner is created in the center of the map (200×150) and is labeled as “active”. When generating the map, I create a loop that goes through every active miner, and runs their “dig” function. When the miner “digs”, it picks a random cell around it, that is not yet an empty space (ID=0) and digs it out, moving itself in that direction.
For example, if the miner was at 5×4, and decided to move UP, it would dig out the cell 5×3, and move itself there. Whenever a miner digs, it also has a small chance of spawning a new miner in a random direction. In my generation code, the chance is about 8% that a new miner is added.
If a miner has no walls surrounding it (ID=1) then it unactivates itself, and stops digging. If this miner happens to be the last miner alive, then it just moves around until it finds a new wall to start digging.
CALL OFF THE DIG
Depending on how you want your maps to look, there are a number of different ways and times you can stop the miners from digging. You can stop the digging when there is only 1 active miner left, which is what I was originally doing. The problem with this though, is sometimes you'll have gigantic maps, and sometimes your maps will be 4 cells big. It's too random for me.
Instead, what I decided to do was say that once 400 miners had been added, STOP digging. 400 is just a random number I chose, after experimenting with higher and lower values, and this size seemed to represent a good amount of miners for the size of level I wanted.
WHAT WE'VE GOT
At this point, my levels were generally looking like this:

The general shape is awesome (in my opinion) but it's cluttered with horrible little bits of dirt everywhere! Which is why we needed ….
PART TWO: CLEAN UP!
So, as you can see from the image above, the map definitely needs some cleaning up. If we were to stick a player and run around in that it would feel horribly awkward and cluttered. This had me stumped for a little bit, because I was trying to think of ways to alter the original generation to remove these oddities. In the end though, I decided it would be much easier to simply run through my map one more time, and remove anything I found unfitting. So, I ran through every cell in the map, checking the following with each cell:
LONELY WALLS
These cells were walls sitting all by themselves with no one around. If I found any walls that had no adjacent walls (up/down/left/right) I would remove them.
STRANDS
These cells only had 2 adjacent walls, in most cases creating long strands of walls. These looked really awkward and just took up space, so I removed all of these as well. This also gave the map edges a more rounded look.
TINY ISLANDS
These cells were a group of 4 cells. I removed these as well.
This might sound like I over do it, but ultimately the end results are a lot cleaner:

PART THREE: WATER(FALLS)
This is by far the easiest part of the entire thing. I had a few people think that the water actually may be part of the generation, but, it definitely isn't. Water is added in at the very end, after we have the result above.
THE POOLS
The pools at the bottom of the map are really simple. No, they aren't generated by waterfalls, and no, there isn't some magic algorithm that makes them. All I do is grab the lowest empty cell (ID = 0) in the map, and fill every cell 20 cells high from that point up, with water. That's it.
THE WATERFALLS
The waterfalls are also really simple. I grab 4 random points that are adjacent to a wall (above it) and create that point as the start of the waterfall. Then, the water just automatically keeps moving down until it finds a wall below it, at which point it moves left/right until it either can't anymore, or it can move down again. Once the water can no longer move down, it stops, renders out the waterfall (to a tilemap) and removes itself (well, the thing that generates the water fall does – obviously the graphics for the water doesn't).
